


Vacuklav® 23 B+ / Steam sterilizer from software version 5.17 23L

- — توصيل سريع
- — اشعارات الايميل
- — طرق دفع مختلفة
- — اسعار تنافسية
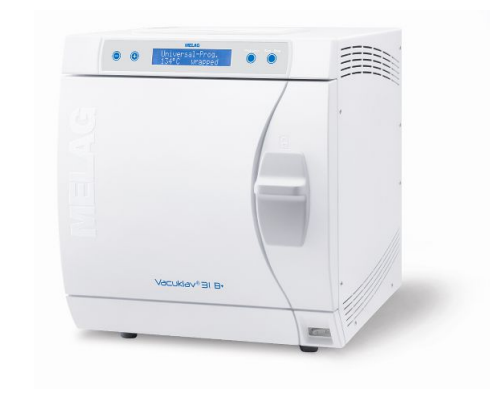
Space requirements

Fig. 1: View from the front, the right and above

The steam sterilizer works with a cooler on the rear of the device. The function and life-span of the steam
sterilizer can be compromized if heat dissipation via the cooler is restricted in any way. The steam sterilizer
may only be installed if sufficient air circulation can be guaranteed.
Additional space requirement for the feed water supply
Additional space is required for a storage container or a water treatment unit. It is also necessary to
guarantee free access to the hoses and cables leading from the steam sterilizer to the water treatment
unit.

Requirements for the incorporation of a device
If the incorporation of the device is absolutely necessary, one of the following measures must be
implemented:
1. The device must be able to be pulled out for operation (pos. a).
2. In the installation space, there must be an exhaust air duct in the rear area which diverts the warm air
upwards (pos. b).
3. In the installation space, there must be an exhaust air duct in the rear area which diverts the warm air
actively to the rear (pos. c).

On-site requirements
Mains supply
Implement the following safety measures when dealing with the cable and power plug:
- Never damage or alter the power plug or cable.
- Never bend or twist the power cable.
- Never remove the plug by pulling on the power cable. Always take a grip on the plug.
- Never place any heavy objects on the power cable.
-Never run the power cable over areas in which it could become trapped (e.g. doors or windows).
- Never lead the cable along a source of heat.
-Never use any nails, paper fasteners or similar objects to fix the cable.
-Should the power plug or cable suffer damage, switch off the device. The power cable or plug should
only be replaced by authorized technicians.
On-site requirements of the mains connection
Aligning the door seal sealing lip
Long periods of storage with the door closed can result in the sealing lips of the door seal becoming stuck.
Align the sealing lips to prevent leaks.
Proceed as follows:
1. Remove the door seal.

2. Press your thumb between the two sealing lips and separate the sealing lips once around with your thumb
3. Insert the door seal into the groove

INCLUDES WARRANTY (TWO YEARS), DELIVERY AND INSTALLATION
لم يتم العثور على أي تقييمات